If you’ve been thinking of getting into the wonderful pastime of hiking, this hiking for beginners guide shares all you need, and with a budget in mind!
Hiking has grown to become one of my favorite pastimes. It’s not only a fabulous way to get in a workout, but it also puts you out in the great outdoors where fresh air and beautiful views await you.
I mean, how great is it when you reach the top of a challenging climb only to be rewarded with unique and striking landscape views?! For me, nothing beats that feeling.
I know that people often feel intimidated by the prospect of hiking when just starting. I see it all the time when I beg my friends who don’t usually hike to join me. You may be worried it’s too expensive of a sport, or possibly that it’s also challenging! Or maybe you’re nervous about how safe it is.
But hiking for beginners does not need to be scary! I’ve gone on my fair share of solo hiking trips – as a woman no less *gasp* – and if you prepare properly, you can conquer (almost) any climb! You just need to know how to start, what you need, and critical safety tips!
This post contains affiliate links. As an Amazon Associate I earn from qualifying purchases if you click my links and make a purchase, at no cost to you. Learn more on my disclosure page. Thank you for your support!
Table of Contents
Preparing for a Hike
Budget Hiking Essentials for Beginners
Tips for Finding Cheap Hiking Gear
What to Pack on a Hike
Hiking Etiquette and Trail Rules
5 Ways to Prepare for a Hike and Things to Keep in Mind
1. Research the trails.
The very first thing you need to do when planning a hike is to research the area.
Important things to look up include:
- What’s the weather like? What do you need to wear?
- What’s the difficulty rating? Elevation gain?
- How long is the hike as far as distance?
- How long will the walk take in terms of time?
- What are the current trail conditions?
- What animals, if any, do you need to be aware of?
- Are there camping shelters or are permits needed to camp out? Super important when camping as a beginner.
Only you know what your fitness level is, so you need to be sure that you’re completely honest with yourself about if you can handle a trail. Hiking can be extremely challenging, depending on the elevation gain, total length, and climate too. You don’t want to bite off more than you can chew when you’re just starting.
Another essential thing to do is check on the weather, natural wildlife, and current trail conditions before you set off. In some places, weather can change rapidly from sunshine to rain, and there’s nothing more miserable or dangerous than not preparing for slippery trails. It’s also good to know if you need to be on the lookout for bears, snakes, or even wild boars.
2. Start with shorter, easier day hikes.
Those crazy cool adventure hikes are so tempting, but if you’re a beginner and worried about the physical aspect, start slow and build up. Find trails that are no more than 3-4 miles, and avoid high elevation gain in the beginning. If you’re unsure what elevation gains are considered difficult, stay under 500 feet of gain the first time so you can see what it’s like.
The more elevation gain, and the further the distance, the more difficult a hike becomes. You can get a rough idea of hike difficulty via this handy calculator!
Of course, every person is different and will have a different idea of what is “difficult,” but hiking requires a different type of physical fitness from walking or running. It can be quite exhausting if you’ve never gone before, and it requires some intense cardio endurance.
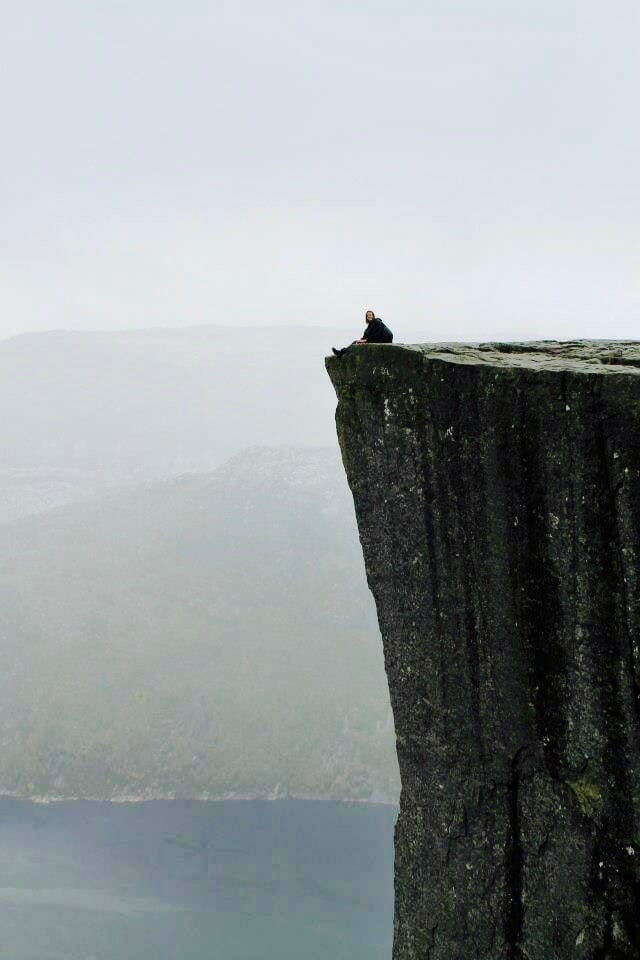
3. Download offline maps.
Offline maps are your friend when it comes to hiking! It’s more than likely you’ll be venturing into wilderness far from any cell tower, so having key information downloaded to your phone will ensure you don’t get lost and can safely return home.
I love the app AllTrails. Dedicated to sharing the most up-to-date information about thousands of hiking trails, AllTrails shares a map of the trail with users, recent reviews from other hikers, and more.
You can also download offline maps on apps like Google Maps and Maps.me, which often show popular hiking trails and help you find your way back to civilization if you’ve strayed from the path during your hike.
If you’re going far and super rural, you may also want to pack a physical map to help you too.
4. Bring enough water.
Planning how much water you need for a hike is super super important! The standard rule of thumb is that adults should bring about ½ liter of water per hour of active hiking.
That means a five-hour hike requires about 2.5 liters of water. If you have space to bring a little extra, it’s always best to err on the side of caution.
5. Tell someone where you’re going.
Hiking for beginners 101: tell someone where you’re going! Whether you’re hiking solo or with a friend or two, it’s always best to let someone know in case anything were to happen.
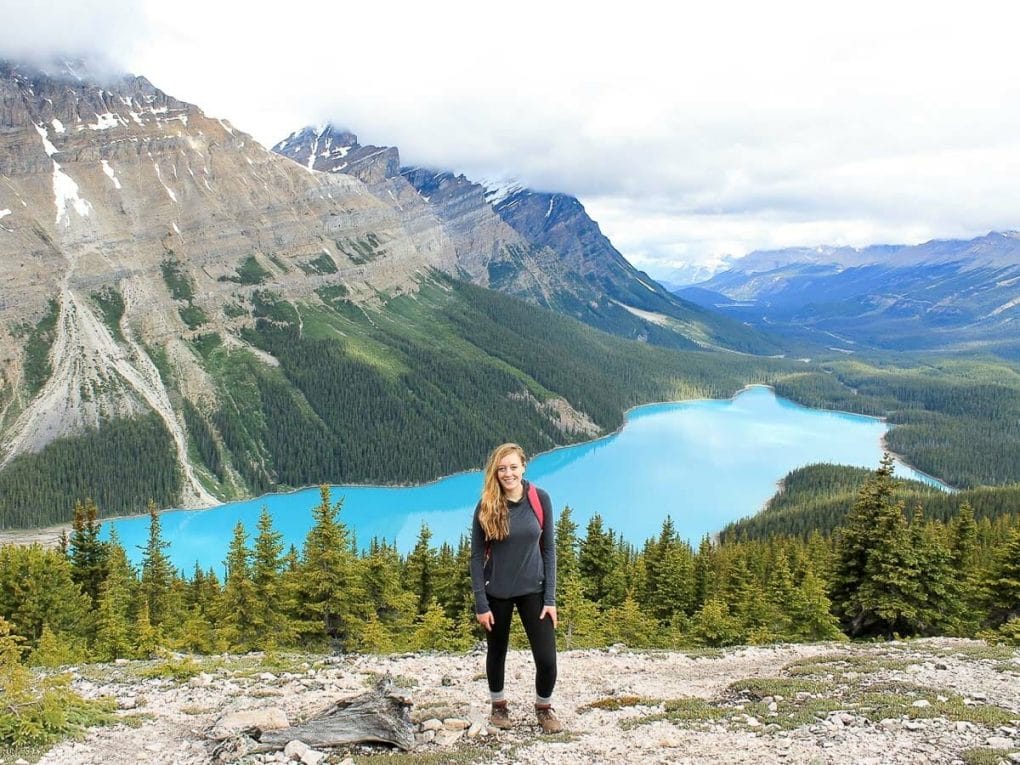
8 Budget Hiking Essentials Perfect for Beginners
Hiking doesn’t have to be super expensive, and you don’t need all the fancy pants hiking gear to enjoy hiking successfully. Don’t let the gear freak you out! It’s so not necessary!
All you need are these fundamental important hiking essentials. And if it’s still a bit out of budget, these are all great gift ideas for hikers to request from loved ones!
1. Sturdy Pair of Hiking Boots
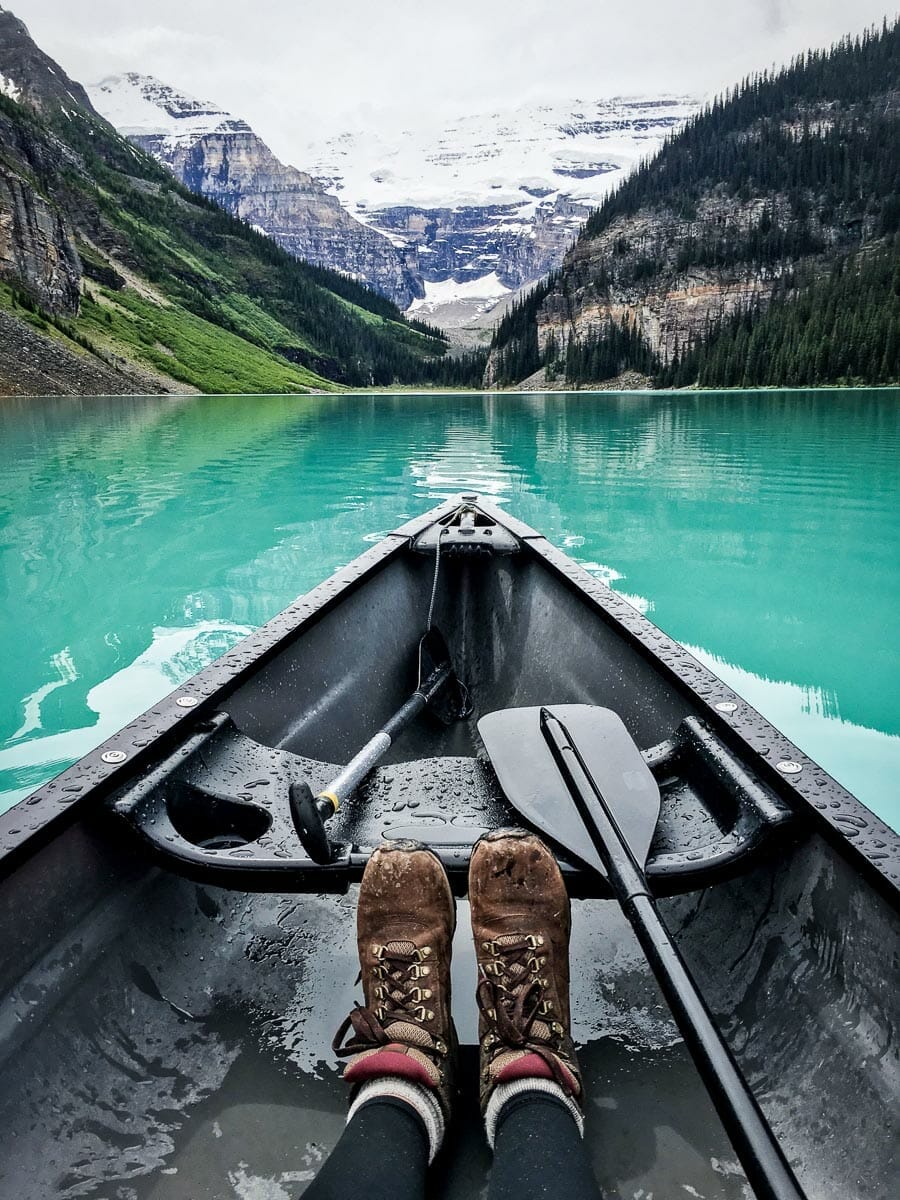
Arguably the most important thing you need for hiking, a sturdy pair of hiking boots is a must! Even while on a budget, if there’s anything worth splurging on, it would be a quality pair of boots.
Some key things to consider when shopping for hiking boots includes:
- Ankle: go for the mid-ankle! It’ll help prevent a sprained ankle
- Waterproof: You better get something super waterproof!
- Type: There are a million and one hiking boots designed for specific trails
- Fit: Always try on your boot in person if you can, and make sure they fit well. Minimalist hiking boots are also a great option for travelers.
The best hiking boot brands:
- Timbaland: my go-to because they’re affordable, comfortable, and waterproof. I’ve had two pairs that have lasted me years and I still love them to this day.
- Merrell: A classic hiking boot brand that many people love because their boots are reliable and come in many options.
- Salomon: A highly reviewed brand best known for their low-cut ankle shoes.
- Danner: An iconic boot identifiable for its red laces, pricey but a cult favorite.
2. Hiking Daypack
Next up, you need a good daypack for hiking that can sufficiently carry all of your stuff on the mountain. You don’t necessarily want something too big or bulky because it can weigh you down, but it needs to be big enough to carry water bottles, food, and possibly an extra layer.
I recommend something around 17 – 22L as a good size for a day pack.
Other things to consider when shopping for a hiking backpack:
- Waterproof or water-resistant
- If not, does it come with rain cover
- Water bottle pockets
- Dirt-resistant / abrasion resistant
It’s also possible to waterproof a backpack with a few simple tricks including a backpack cover, waterproofing spray etc.
My favorite day hiking backpacks:
- Fjallraven: I’ve had a Fjallraven pack for years and love it. It’s beyond durable, water resistant, a nice size, lightweight and cute, making it great for other uses.
- Osprey: I also have an Osprey day pack for hiking and you can’t go wrong with this reliable brand. It’s more compact and lighter than my Fjallraven, and made for the outdoors.
- Venture Pal: An affordable option that’s great for beginners, a great price, and highly reviewed.
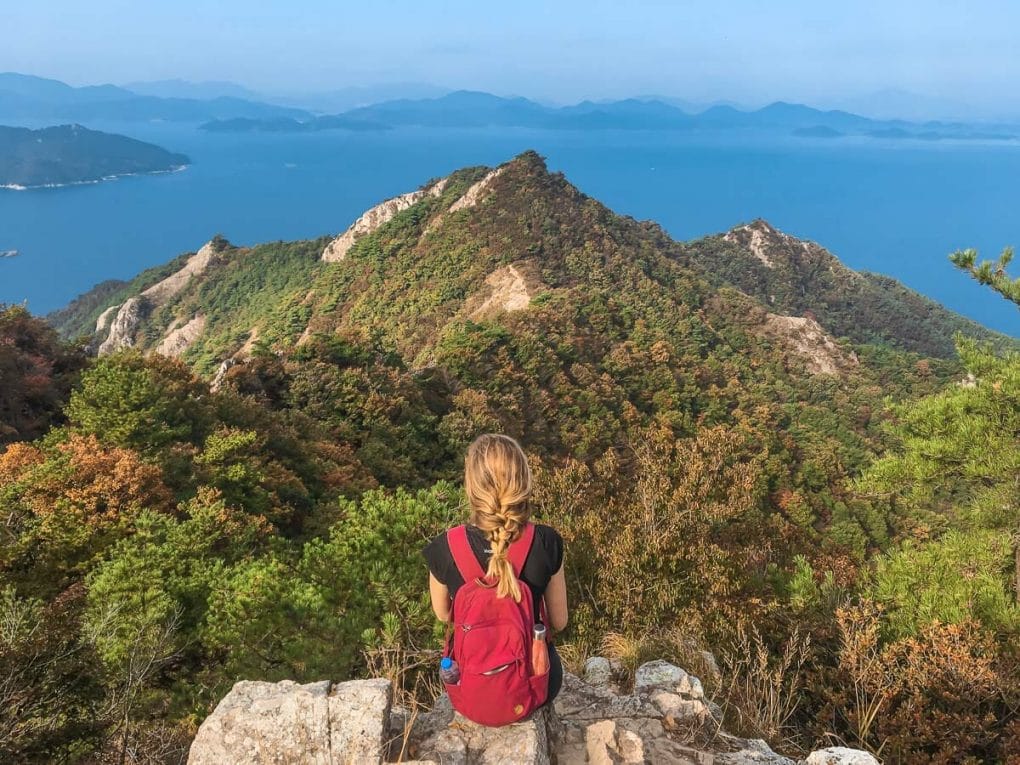
This Fjallraven was such an amazing investment!
3. Rain Jacket
A rain jacket is a staple every person, especially people who love nature, should have in their closet. I personally love the investment I made in my North Face Venture rain jacket, but they are pricey. Other great affordable brands include Columbia, and LL Bean.
My favorite rain jacket brands: North Face and Columbia
4. Down Jacket
An essential for anyone going on cold-weather hikes, I live for my packable down jacket. It’s such an insanely useful thing to travel with because of how lightweight it is, yet it gets the job done when it comes to keeping you warm during those chilly hikes in higher or colder climates.
My favorite down jackets: Patagonia Nano Puff, Columbia, Amazon Essentials
5. Good Hiking Socks
Avoid blisters and keep your feet warm with thick, quality hiking socks. I personally don’t buy anything but Smartwool because they’re just so fantastic. They cushion my feet, keep them dry yet warm, and last for years.
They’re expensive, $20 a pair, but they make for a perfect gift request to save money!
My favorite hiking socks: Smartwool Medium Hiking Socks and REI brand, Darn Tough
6. Water Bottle(s)
A water bottle is a must! You won’t need anything particularly massive or lightweight for day hikes, so any you have laying around should do just fine.
I personally love my Hydro Flask. It’s colorful, durable, and gets the job done. I also like that I can change out the tops for a straw or simple open.
For longer hikes, you may want to consider something like a hydration bladder, which can hold multiple liters of water and can easily fit in your backpack.
7. Base layers
Unless you’re a pro planning to hike somewhere extremely cold like the arctic, you don’t need to invest in overly expensive base layers when just getting into hiking.
Classic long Johns like cotton long sleeves and fleece leggings/liners from your local affordable clothing store are just fine for beginner hikers.
8. Hiking Sticks
Depending on your ability, you may or may not want to bring along hiking sticks. They can come in handy on certain rocky or slippery terrains or if you need something to stabilize yourself while hiking.
Tips for Where and How to Find Cheap Hiking Gear
I’m a proud budget backpacker and live my life always with my finances in mind. But I also appreciate good quality in the things I do purchase, because if I’m going to spend the money, I want to ensure I’m making a good investment in something that will actually last.
I’m a proud budget backpacker and live my life always with my finances in mind. But I also appreciate good quality in the things I do purchase because if I’m going to spend the money, I want to ensure I’m making a good investment in something that will actually last.
These are some key ways I save money shopping for outdoor gear while arming myself with high-end hiking essentials:
- Shop at outlets: I frequently check out outlet stores like REI Garage and Backcountry because they often have great sales and lower prices on my favorite brands. I once scored a Patagonia down jacket at REI Garage for about $150 less than retail price!
- Buy gently used: While I don’t recommend buying boots or water bottles used, you can find great backpacks, hiking sticks, crampons, layers, and other hiking items gently used for a great price.
- Buy on sale: Don’t you dare buy anything full price! Wait for key deals and plan your purchase wisely. Black Friday, after Christmas sales, and brand-specific sale events are great times to purchase the hiking items you’ve had your eye on.
- Don’t buy name brands at first. Patagonia and the North Face are excellent brands, but they’re expensive. If you’re just starting and unsure if hiking is for you, go off-brand first.
- Save up and invest in one thing you’re sure will be perfect. And then start the process again.
- Ask for gift cards or request hiking gifts from loved ones.
What to Pack on a Hike
Alright, now that we’ve covered the basic hiking essentials, let’s get down to what you should be packing for each hike! Remember, you don’t want to bring too much that can weigh you down, but you also don’t want to be caught off guard.
What to bring on a day hike:
- Bug spray to ward off mosquitos
- Sunscreen for both your face and your full body.
- Map + compass for emergencies
- ½ liter of water per hour of hiking
- Tissues and hand sanitizer: biodegradable is best
- Plastic bag for carrying trash out
- Mini first aid kit: bandaids, wrap, antiseptic
- Polarized sunglasses
- Layers: long sleeve, sweater, jacket
- Snacks/lunch: nuts, hard-boiled eggs, veggies, sandwich, granola bar
- Crampons or hiking sticks if necessary
Hiking Etiquette and Trail Rules
1. Leave no trace.
I’m begging you not to litter on your hikes. It’s so bad for the environment and rude to other hikers. Take everything back out with you that you brought on the trail.
Maybe even consider doing the adventure bag challenge and picking up other’s litter on your hike!
2. Don’t take “souvenirs.”
Leave pretty rocks and flowers as they are and please don’t take anything natural out with you.
3. Hike on the right, pass on the left.
This one is pretty self-explanatory, and is just like road traffic!
4. Yield to uphill traffic.
Trekking uphill is tiring work! Be respectful and let those climbing uphill pass as you’re going down.
5. Be courteous and aware of your surroundings.
If you’re playing music, don’t play it too loud as it can disturb others. And consider turning it off if you’re on a heavily packed trail.
Don’t block the trail to others. If you’re slower, be respectful and let others pass. If you’re taking a break, stand to the side. If you’re in a large group, walk single file instead of across the trail.
If you’re faster and trying to pass, do so at an appropriate point in the trial rather than grumpily pushing your way through.
Please, and thank you!
6. Stay on the trail.
Don’t step off to avoid a puddle, or wade through vegetation to relieve yourself, or squash beautiful flowers and plants just to pass others. Let’s protect and preserve the magnificent landscape we’re all there to enjoy!
7. Do not disturb or feed wildlife.
I’m sure you’ve all seen the super sad stories of people who had good intentions to “help” wildlife only for them to inflict harm. The best rule is to avoid touching or interacting with ALL wildlife, even if you think you’re helping.
Did I miss any important tips on hiking for beginners on a budget? Share below!
