Compiling a comprehensive list of travel tips for the Philippines is a daunting task, especially considering the country is made up of over 7,000 islands, each home to their own customs, way of doing things and even language or dialect.
But all differences aside, after island hopping around the Philippines best attractions like Siguijor Island, Cebu, Bohol, Coron and El Nido, I’ve compiled 26 general travel tips for the Philippines for your next trip to this stunning archipelago.
This post may contain affiliate links, meaning at no additional cost to you, if you click my links and make a purchase, I may earn a small commission. Learn more on my disclosure page. Thank you for your support!
26 Travel Tips for the Philippines
1. Check where is safe and where may be dangerous before your trip.
There are some areas of the Philippines that aren’t safe for tourists. Many countries recommend avoiding travel to The Sulu Archipelago, including the southern Sulu Sea, Marawi City in Mindanao and the entire region of Mindanao in general. Terrorism, civil unrest and crime have been an issue in recent years and even locals in Cebu told us to avoid certain areas due to anti-government forces.
All that to say, the most beautiful places and touristy parts that you most likely want to go to, are totally safe. I never once felt uncomfortable or in danger in the two weeks I was there. You can check out more specific travel warnings at the U.S site.
Of course, always practice caution. If you’re a solo female traveler, check out some of my fave travel tips for solo female travel in Asia.
2. There may be high security at the entrances of common places.
Given that terrorism and guerrilla resistance is an issue for the country; the airports, ferry terminals and tourist sites may have higher security than you’re used to. Many entrances required bag scans and metal detectors.
Honestly, it wasn’t a big deal and still wasn’t as intense as American airport security so there’s no need to worry about it. Just something to be aware of so it isn’t a surprise later.
3. There isn’t too strict of a dress code in the beach areas.
Although the Philippines is a conservative country with predominantly catholic ideals, when traveling to the beachy spots of the country, locals didn’t seem to look twice at foreigner’s swimsuits or apparel.
You also really don’t have to worry about wearing shorts or tank tops while visiting, but with every travel destination that’s a bit more conservative, be sure to respect the norms and don’t over do it.
4. Carry small bills and save them for small purchases.
This was actually a bit of a challenge. ATMs only dispense 1000 peso bills but vendors, hostels, and tricycle drivers want only small bills. Because things are so affordable in the Philippines, making change for a 125 pesos bus ride from a 1000 peso note is a bit of a headache for them.
Try your best to plan to save the big notes for big purchases and the smaller notes for the buses, small purchases and meals.
5. White taxis are cheaper than the yellow ones.
In the cities, there are two taxi options – white, and yellow. The white one is a cheaper fare than the yellow.
Make sure when you get in the cab, they start the meter. Sometimes they’ll try to tell you a price upfront instead of using the meter, but don’t let them take advantage of you. If they refuse to run the meter, refuse the ride and find a different cab. It’ll save you money in the long run.
6. Download the Grab App when in the cities to call taxis easily.
If you’re traveling in Metro Manila, Cebu City, Davao City, Iloilo City, Bacolod City, and Baguio City, download the Grab app to safely and conveniently call taxis from anywhere in the city. It works just like Uber and is a great way to ensure you get to where you need to go.
Download the app here.
7. Power and WiFi outages are normal outside of the city.
When traveling to the smaller towns and islands, power outages are quite common – in certain parts of Palawan particularly.
Wifi connection was terrible. In most of our guesthouse it was usually pretty iffy and not at all reliable, a common complaint of travelers exploring the Philippines.

8. Smart or Globe SIM cards are the recommended prepaid phone plans.
Although the WiFi is not super great, you can pick up a local sim card for 3G or LTE data service during your travels. Data plans were actually SO cheap and affordable I couldn’t believe it.
We flew into Cebu Airport and were handed a free Smart Sim card at baggage claim. It came loaded with 300 MB of data + an additional 700 MB when you loaded 30 PHP onto it within three days of activation.
Buying additional data after that was used was easily done from their website. I believe I paid PHP 99 / $1.85 for 1 GB of data or “load” as they call it (and other random perks such as free Facebook and YouTube) for 7 days. I only had to load my sim card twice the whole trip and was constantly using data at the hostel because the WiFi was terrible.
When researching online, most people recommend Globe Sim Card and tout it as more reliable and the better service provider so I’d consider checking them out as well.
I only went with Smart because it was literally free and someone gave it to me without me having to do a single thing. I honestly didn’t have any trouble with Smart and I ventured all around Cebu Island, Bohol, Coron and El Nido.
9. It’s acceptable to barter for a cheaper price.
As with many places in SE Asia, feel free to barter for a cheaper price. Especially for tricycle rides or in the markets. You can usually get a cheaper ride if you just ask and barter. They definitely raise the prices for foreign tourists.
My attitude with bartering though, remember it’s just a dollar or 50 cents. Don’t stress too much if they up-charge you PHP 50.
10. Bring a reusable water bottle.
While the tap water is NOT drinkable in the Philippines, every guesthouse and hostel had free water for guests to drink and refill their bottles – it was really nice!
There are also cool water vending machines scattered throughout the cities and towns that you can pay for drinking water. Save money, save the plastic and reduce your waste.
11. The Philippines is very a wet place.
Most of the activities you’ll be doing while visiting involve the water in some way. I really recommend coming prepared with a durable dry bag, a waterproof pouch for your cell phone and a GoPro if you own one.
The most beautiful places often require a short swim or a boat ride to an isolated area and you’ll want the waterproof gear to protect your belongings and to take photos of the beautiful surroundings.
Don’t have any of these waterproof essentials? Some of my faves include:
- KastKing Dry Bag: This bag got such great reviews on Amazon so I chose this one of all the options. The double layer of waterproof protection was really reassuring as was the clear window that lets you see into the bag to make sure your things are still dry. The makers do not recommend diving with the bag or putting expensive belongings in it, but I brought my mirrorless camera and had no issues.
- JOTO Universal Dry Bag Pouch for cell phones: Another great product with an insane amount of reviews. I was worried the cheap price was too good to be true, but this product was amazing and really protected my phone from water damage.
- GoPro Hero5 Session: This bad boy is actually waterproof up to 10 meters (33 feet) without housing and is a great companion on any water adventures. I personally have the GoPro Hero 2 – so so old – but I’ve read great reviews about this newer model.
12. Know the seasons before you book/travel.
The Philippines has two important and distinct seasons that will greatly affect your travel plans: dry season, and rainy/monsoon season. The rainy season starts in June and ends in early October while the dry season (the best time to visit but also the busiest time), is from October to May.
The summer season is actually broken into two groupings, the cool dry season (October to February) and the hot dry season (March to May).
I visited in August, right in the middle of the rainy season and we were insanely lucky with the weather. It only rained a day or two while we were there and we got to enjoy freedom from the crowds as well as the cheaper low season prices. The best time to visit the Philippines is during dry season, but sometimes traveling during rainy season has its perks!
13. Bring all the bug spray and sunscreen.
There are many mosquitoes that are just waiting to suck you dry! Come prepared with some good bug spray to avoid bites. Many areas in the Philippines have a low risk of malaria but the rural areas and specific islands may have a higher risk. Be sure to do your research before you travel!
Another must-pack item – sunscreen. The sun is strong and hot in the Philippines, even during the rainy season and you’ll want to protect your skin.
14. Know what vaccinations/medication are needed for the Philippines.
Be sure to check out what vaccinations you need before traveling to the Philippines. Most areas don’t have a malaria risk, but you’ll want to come prepared with Hep A and Typhoid at the very least.
Always consult the CDC’s website before traveling anywhere for up to date travel medical info.
15. Prepare for terminal fees at the ferry ports and Cebu airport.
Anytime you take a ferry or maybe even a flight while visiting the Philippines, you must pay for a ticket as well as an additional terminal fee. Usually the fee is quite small, about 20 pesos / $0.40 at the ferry terminal.
Airport fees are a bit more expensive. When I flew out of Mactan-Cebu airport the fee was PHP 850 / $17 USD. However, when flying out of Manila, the terminal fee should already be included in your airline ticket. Detourista does a great job explaining these fees in more detail:
“You only need to be concerned about paying the terminal fee at the airport (after check-in/before boarding) if you’re flying via Clark Airport or departing on an international flight from Cebu, Clark, Kalibo, Davao, Iloilo, Puerto Princesa or any international airport except Manila.”
16. Some beaches and other tourist sites have entrance fees.
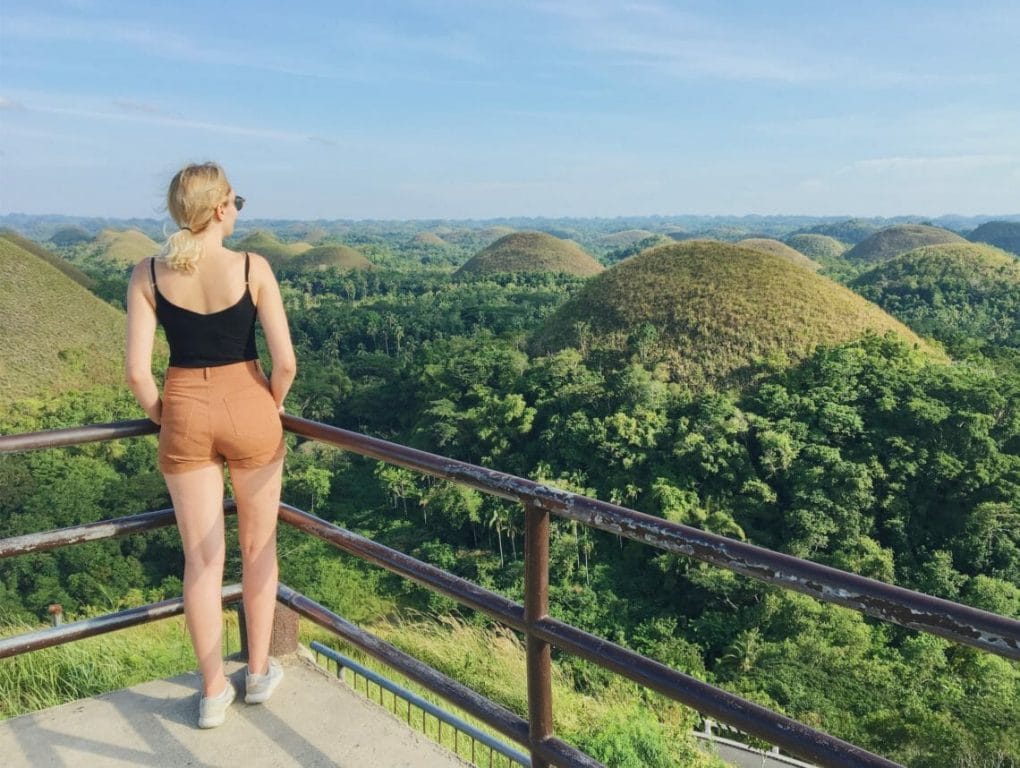
It seemed to me the outdoor natural places that were tourist hot spots were the places most often requiring an entrance fee. For example, many of the popular beaches in Palawan, the river cruise in Bohol, the chocolate hills in Bohol etc.
The fees are quite small though, usually like PHP 25 or 50 / $0.40 to $1.00 but keep this in mind for your small bills when visiting certain places.
17. Come prepared with a list of the must-try Filipino foods.
I have to be honest and maybe send a little shade, but I was not super impressed with Filipino food. All that to say, the fun of experiencing a new place is immersing yourself in the culture and trying all the foods!
- Lechon: roasted suckling pig
- Chicharrones: fried pork rinds/pork belly
- Balut: developing bird embryo eaten as street food – a Filipino classic but also one of the strangest things you’ll ever dare to put in your mouth
- Halo halo: ice dessert with different toppings such as fruit, sweetened beans, corn flakes, corn kernels, jellies etc.
- Chicken/pork/beef Adobo: marinated meat served usually with rice
- Fresh seafood
- Sisig: type of stir-fry ish meal usually with meat, egg and mayo served on the side with rice.
- Buko everything: buko or coconut is popular in the Philippines. Try the buko pies, so good!
Snacks to try:
- Jovy’s banana chips
- 7D brand dried mango
- Fudgee Bar
- Coconut Chips
18. Learn survival phrases.
The official languages of the Philippines are English and Filipino, however there are actually more Tagalog speakers than English. After these three languages, there are hundreds of others and dialects. So many people speak English that you don’t really need to rely on survival phrases – but it’s a nice gesture to learn a few important ones in any case.
Hello – hi / hello
Please – paki
Thank you – salamat
You’re welcome – walang anuman
How are you? – kumusta kayo
I’m sorry – sorry / paumanhin
Do you speak English? – Nagsasalita ka ng ingles?
Where is the bathroom? – Saan ang banyo?
Yes – oo
No – hindi
19. Most people speak English and are insanely friendly.
Filipinos are some of the most friendly and welcoming people I’ve ever met. They are so so so kind and almost always happy to help you when you’re lost or in need of assistance.
The Philippines is one of the largest English speaking countries in the world! Many folks speak English and can help you in a language you understand.
20. There are plenty of transportation options to get around.
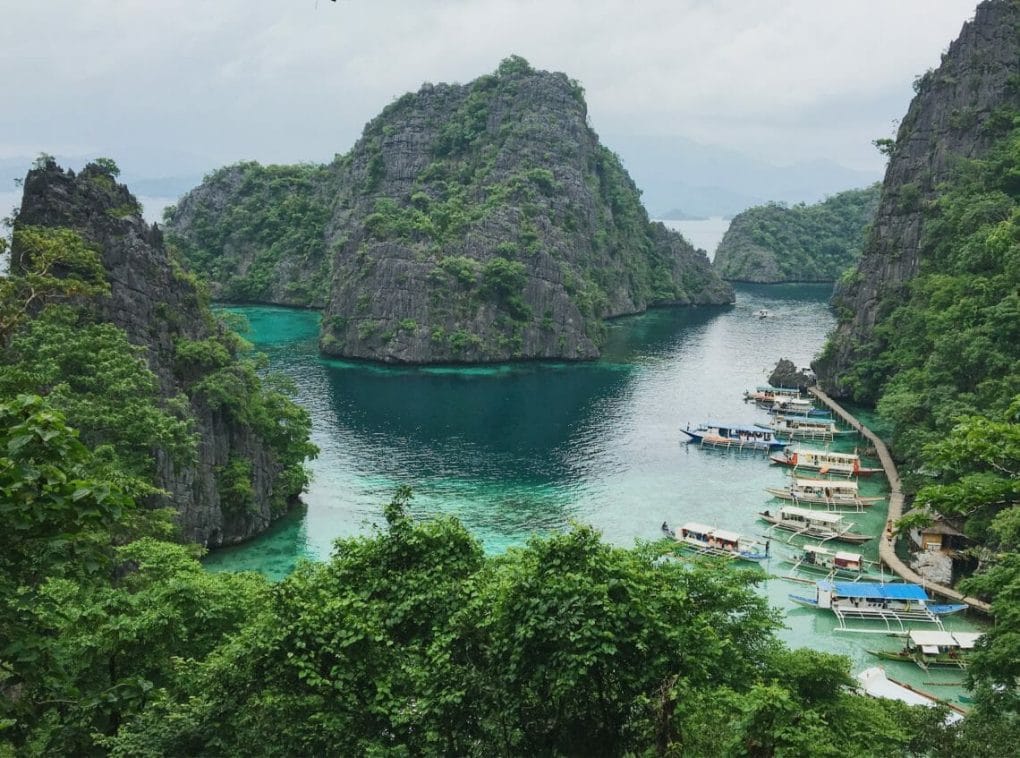
Whether you choose to hop on a habal habal (motorcycle), tricycle (tuk tuk so to speak), jeepney (essentially a mini colorful bus), bus, or taxi – there are lots of ways to get around! It’s also pretty common to take ferries, boats, and budget flights in the country to reach the further off islands and destinations. For example, many tourists opt to take a long boat trip from Coron to El Nido. It’s both an experience and a mode of transportation.
Many people also opt to rent mopeds for the day or duration of their stay. Depending on where you are, you should expect to pay anywhere between PHP 300 – 400 / $5.50 – $7.50 for a day. Technically you need an International Driver’s Permit to drive in the Philippines, but it’s really not enforced. We drove on just our license from home and it was no biggie. Just be safe!
21. There will most likely be travel delays.
It’s so normal in the Philippines to have travel delays whether for your flight, ferry, tour or whatever. It’s just part of the relaxed attitude of the people as well as a combination of the finicky weather that can hit the islands. Just keep it in mind for your travel planning and try to build in that time into your itinerary.
22. Finding and using ATMs can be a challenge.
Not many ATMS around in smaller and more rural places so take out enough cash in advance to be safe. Some ATMs also do not accept foreign cards. BPI does and a few others too.
23. Know what traveler adapter you need.
The plugs in the Philippines alternate between american style two prong outlets as well as the European two round plugs. Many places actually had outlets that accepted both into the same socket. Come with an adapter than has both to make sure you don’t have any issues while traveling around the country.
24. Learn how to pronounce the names of cities and regions.
The pronunciation of the cities of the Philippines, proved to be quite a challenge. Learn the correct pronunciation before traveling around to ensure locals can understand where you’re trying to go and to make sure you’re going to the right place.
25. Americans receive a tourist visa on arrival.
You do not need to apply for a travel visa prior to entering the Philippines. They have a visa on arrival. However, for Americans, our tourist visa is only 30 days – a break from the normal 90 days of many other countries.
26. Using the toilets and flushing was a learning experience.
This may be common knowledge for travelers familiar with south-east Asia, but the toilet situation in the Philippines was a new challenge for me and I embarrassingly couldn’t figure it out for a few days. So I want to share this lil tip just in case there are other clueless travelers in the Philippines like me!
So many smaller local establishments will have western style toilets but without the ability to flush. Next to the toilet will be a large bucket of water with a large scoop. To flush, you just fill the scoop with water and dump it into the toilet bowl. This will act as a flush and drain the bowl and fill it with clean water. Voila! You’ve flushed the toilet!
Again this may be common knowledge, but I had no idea what I was doing. Also, many toilets don’t have toilet paper or sinks for handwashing, so come prepared. Many places also request that you throw the toilet paper in the trash rather than down the drain.
I hope you enjoy your fabulous trip to the Philippines!! The nature here is some of the most beautiful I have ever seen and the locals were the friendliest. You’re going to have a great time.
This post may contain affiliate links, meaning at no additional cost to you, if you click my links and make a purchase, I may earn a small commission. Learn more on my disclosure page. Thank you for your support!
Have I missed anything important? Share your questions or comments below!

I’ve bookmarked this for my upcoming trip! Great tips! Thanks 🙂
You’re very welcome!! ????